Tuesday, May 31, 2011

Make your own ridiculous art

I am no artist, but I love all things original. You will never find an art poster in my house or Crystal's for that matter. So here is a guide to making your own fresh pieces with a little help from one of my best friends, Mod Podge.


Things you will need:
Old frame
Paint
Any piece of "art"
Mod Podge
An old credit card or any plastic card laying around
Scissors
Wet rag

Take an old frame, remove the glass, and paint the backing board.


While drying, pick out the art piece. I have been dying to do an Olivia Soprano piece for months, but you can use a newspaper/magazine clip, your kid's art, or vintage paperwork....like this old report card from the 60s:


For this project, I took craft paper and printed out my favorite lady and quote. Line it up to get a good feel.


Squeeze out the Mod Podge on the backing board and front of the picture.


Rub the Mod Podge over the picture and scrape out the air bubbles and excess glue with your card.


Take your rag and wipe up the glue around the edges of the picture.


Bask in the glory of your finished piece. Go on, brag about it.


Additional Mod Podge work:

This is a piece using a magazine cut out-


And Crystal's marvelous collage work-


How to get rid of roaches...naturally of course

I think I should just rename this blog, "Vinegar and Baking Soda."


Spring came and went in Texas, but the roaches stayed to play house. I loathe them with all of my heart. Not only are they ugly, they carry all kinds of nasty diseases. It doesn't matter how clean you keep your house, once they have invaded, it's all over. My sweet mother-in-law suggested that I use boric acid, but after doing research, it's not exactly as non-toxic as it claims to be. I have a sweet dog and cat and didn't like the idea of them getting into it. So as usual I turned to baking soda and Borax. Just sprinkle either one (or both) near the problem areas. I tested both separately and found that adding a little bit of sugar to the baking soda helped.

5¢ Produce Wash


I can't always buy organic produce, it's not necessarily a cost issue, it's supply. I make pickles at least once a month and have never been able to find organic pickling cucumbers. I'm ok with that, but that doesn't mean I'm not going to wash the insects, chemicals and bacteria off first. Not only are conventionally grown products covered in herbicides and pesticides, think about all of the hands that have been molesting them throughout their life (organic is no exception to handling). From the field, to the warehouse, to the grocery store...that's a lot of hands! According to WebMD, 2 out of 3 Americans don't wash their hands. Ewww. Bacteria (Listeria, Salmonella and E. Coli) may be lurking on your fruits and vegetables, whether they are organically grown or conventionally grown. So let's talk about the cheapest wash available.

What you need:
Large pot or bowl
3 TBS Baking Soda

Fill your pot 3/4 full of water and mix in the baking soda. Add produce and make sure it's completely covered. Let stand for 10 minutes.


You can also give produce an extra scrub (especially if it's conventional).


*Some people use vinegar for a veggie wash, but I don't like the idea of that seeping into porous produce.

*Don't soak mushrooms! They will soak in all that water and loose flavor, just give them a good rinse and scrub.

Monday, May 30, 2011

How to Save Your Ovaries...Naturally


90 million women across the world suffer from endometriosis. On average, it happens to women in their late 20's/early 30's; typically when you have not bared children. Apparently we should have kids before we are ready...thanks universe.

I was diagnosed about 3 years ago, and was given three treatment options: get pregnant, get on birth control, or have surgery. I worked in an OR at the time, so it was only natural that I went with option 3. Afterwards, I was put on birth control (b/c it was the only medical solution).

So time passed, I went about my business, and eventually got really sick of it. I still had symptoms and hated the pill. I went online and started researching. It didn't take long to come across information on two homeopathic drugs: Vitex and Dong Quai. So naturally, I gave it a whirl.

That was over a year ago and I have never felt better. I quit birth control, got on all natural drugs, and have had ZERO side effects.

If you have any issues with your ovaries, this is worth a shot.

Benefits of Vitex:

It helps to balance the ovarian hormones by increasing the level of progesterone
Helps balance the menstrual cycle
Modulates high levels of prolactin, which can aggravate PMS symptoms
Aleviates some common symptoms of menopause(including hot flashes & depression)

Benefits of Dong Quai:

Contains ferulic acid, a pain reliever and muscle relaxer
Used for effectively treating PMS, arthritis, and lowering blood pressure

There are also health concerns for Dong Quai, so please do your own homework.

Keep in mind, you have to take the drugs EVERY DAY. Natural drugs also take a few weeks to take effect in your body.

The total cost? About $12 a month. You can find both of these pills at Whole Foods and Central Market

Now let me just state my disclosure: I am not a doctor, I am only telling you what worked for me. And what worked for me is truly magical.

I am in love with alternative medicine. This is my all time favorite website for natural cures. http://www.earthclinic.com/

Progress


The only thing I really want to say in this blog post is....yeah!!!

Simple Roasted Green Salsa


After deciding that today was the day to make salsa, I spent all afternoon quoting Jerry Seinfeld's salsa/seltzer episode. Oh I'm sorry, you DON'T know what I'm talking about? Well that's too bad for you.

Ingredients:
4 tomatoes
3 whole garlic cloves
4 TBS olive oil
2 jalapenos
1 yellow onion
1 bunch of green onions (scallions if you feel fancy)
1 bunch of cilantro
2 limes

Preheat the oven to 500 degrees

Half and deseed jalapenos (if you like super hot salsa, no need to deseed)


Rough chop the onion and tomatoes


Toss the onions, garlic, tomatoes, and jalapenos in the olive oil. Place the veggies in a roasting pan or on a baking sheet. Season with salt.


Roast for about 25-30 minutes


Give the green onions and cilantro a rough chop and combine all ingredients in a blender. Season with salt and lime juice.


Now, dip with chips and put in your mouth.

Mixed Berry Streusel Cobbler


I have made this pie about 5 or 6 times and it is always a crowd pleaser. This recipe should be made a day ahead. Pies, soups, salsas, and most sauces need time to get all of the flavors in full unity. Pies also need time to rest and firm up for easy cutting. So plan ahead!

Crust
2 1/4 cups all purpose flour
1 tablespoon sugar
1/2 teaspoon salt
7 tablespoons chilled unsalted butter, cut into 1/2-inch cubes
1/3 cup chilled solid vegetable shortening, cut into 1/2-inch cubes
6 tablespoons ice water

Topping
6 tablespoons (packed) golden brown sugar
1/4 cup whole almonds
6 tablespoons (3/4 stick) chilled unsalted butter, cut into 1/2-inch cubes
4 1/2 tablespoons old-fashioned oats
4 1/2 tablespoons all purpose flour

Filling
1 cup sugar
1/4 cup large pearl tapioca*
2 tablespoons fresh lemon juice
5 cups assorted fresh berries
1 TBS cinnamon

*Let's talk about tapioca for a second. I grew up with 6 brothers and sisters who LOVED tapioca. I hated it, and always got upset b/c everyone got a treat but me. But mixing it in pies creates an insanely rich and creamy consistancy. So needless to say, tapioca and I are mending our relationship.

For crust:
If you want to be a hardcore baker, use your hands! Something really bothers me about food processor crust making. It just seems lazy and I prefer to put my blood, sweat, and tears into my cooking. On the other hand, I'm trying to be a better person, so if that is your method, go for it.

In a large bowl, add flour, sugar, and salt. Slowly add in the butter and shortening and break up into the flour. Don't over do it, you want the flaky crust, and overworking your dough can prevent that. Once the mix resembles a course cornmeal appearance, add 5 tablespoons ice water, adding more water by teaspoonfuls if mixture is dry. Gather dough into ball and flatten into disk. Wrap in plastic and chill at least 1 hour. 2 hours is preferred.


For filling:
Mix sugar, tapioca, lemon juice, and cinnamon in large bowl. Add berries and toss gently to combine. Let stand until tapioca softens slightly, stirring occasionally, about 45 minutes.


For topping:
Combine all ingredients in a food processor. Process until moist clumps form. Set aside.


Preheat oven to 400°F.

After resting in the refrigerator, let dough sit at room temp for about 10 minutes.
Roll out dough on lightly floured surface to 15-inch round. Transfer to 9-inch-diameter glass pie dish. You can make some fancy "crimp" work with the dough, but I prefer to use all of it and skip the overhang. Freeze crust 20 minutes.

Spoon filling into crust.


Crumble topping evenly over filling.


Wrap pie in foil and bake for 30 minutes. Remove foil and continue baking another 20-30 minutes, until crust and topping are golden brown and filling is bubbling, Transfer pie to rack and cool at least 3 hours (it you MUST make the same day).

Sorry I did not take a picture of the pie right out of the oven. The truth is my husband and I stayed up late and dove into it around 3am. These things happen.

All Natural Mosquito Repellent


What you need:
Empty bottle - this recipe is for a 1/2 quart bottle

Ingredients:
3 TBS olive oil (keeps skin from drying out)
1/4 cup rubbing alcohol (helps mix adhere to skin)
10 drops each of geranium, citronella, and cedar wood

The ingredients cost about $25, but the oils will last long enough to make at least 8-10 batches. It's kind of like taking money out of one pocket, and putting it into the other one. If you are on a budget, you can replace the geranium with 5 extra drops each of the citronella and cedarwood.


Combine all ingredients and fill the bottle with distilled or filtered water. Shake well before each use.

Sunday, May 29, 2011

Raspberry Marshmallows


I feel like a total jerk, b/c I was so excited to experiment, that I forgot to take pictures of the entire process. Don't fret ladies, I have a few more marshmallow ideas (coffee flavored & root beer) so I will repost with pics in the next few weeks. Honestly, I would love to have an entire blog category devoted to gelatin and all of it's awesomeness.

I have made marshmallows a few times before and have made some mistakes, so please take my suggestions seriously. This is kind of a sticky, messy project and throwing that hard work down the drain is pretty depressing.

First and foremost you MUST have a candy thermometer! Don't try to get all crafty and think you know what the soft ball stage looks like. Guilty.

Second DON'T forget the flavoring. I once made a batch and at the tail end realized I was out of vanilla. Oh the heartbreak!

I like big fat ridiculous marshmallows so this recipe is calling for an 8x8" pan. Obviously any pan will do, but your thickness will vary. Using an 8x8, produces marshmallows about an inch thick.

This is Alton Brown's recipe...with a few tweaks of course.


Ingredients
3 packages unflavored gelatin
3/4 cup ice cold water, divided
1 1/2 cups sugar
1/4 cup raspberry puree*
1 cup light corn syrup
1/4 tsp kosher salt
1 TBS vanilla extract
1/2 cup confectioners' sugar
Red food coloring (optional)
Nonstick spray or a neutral oil

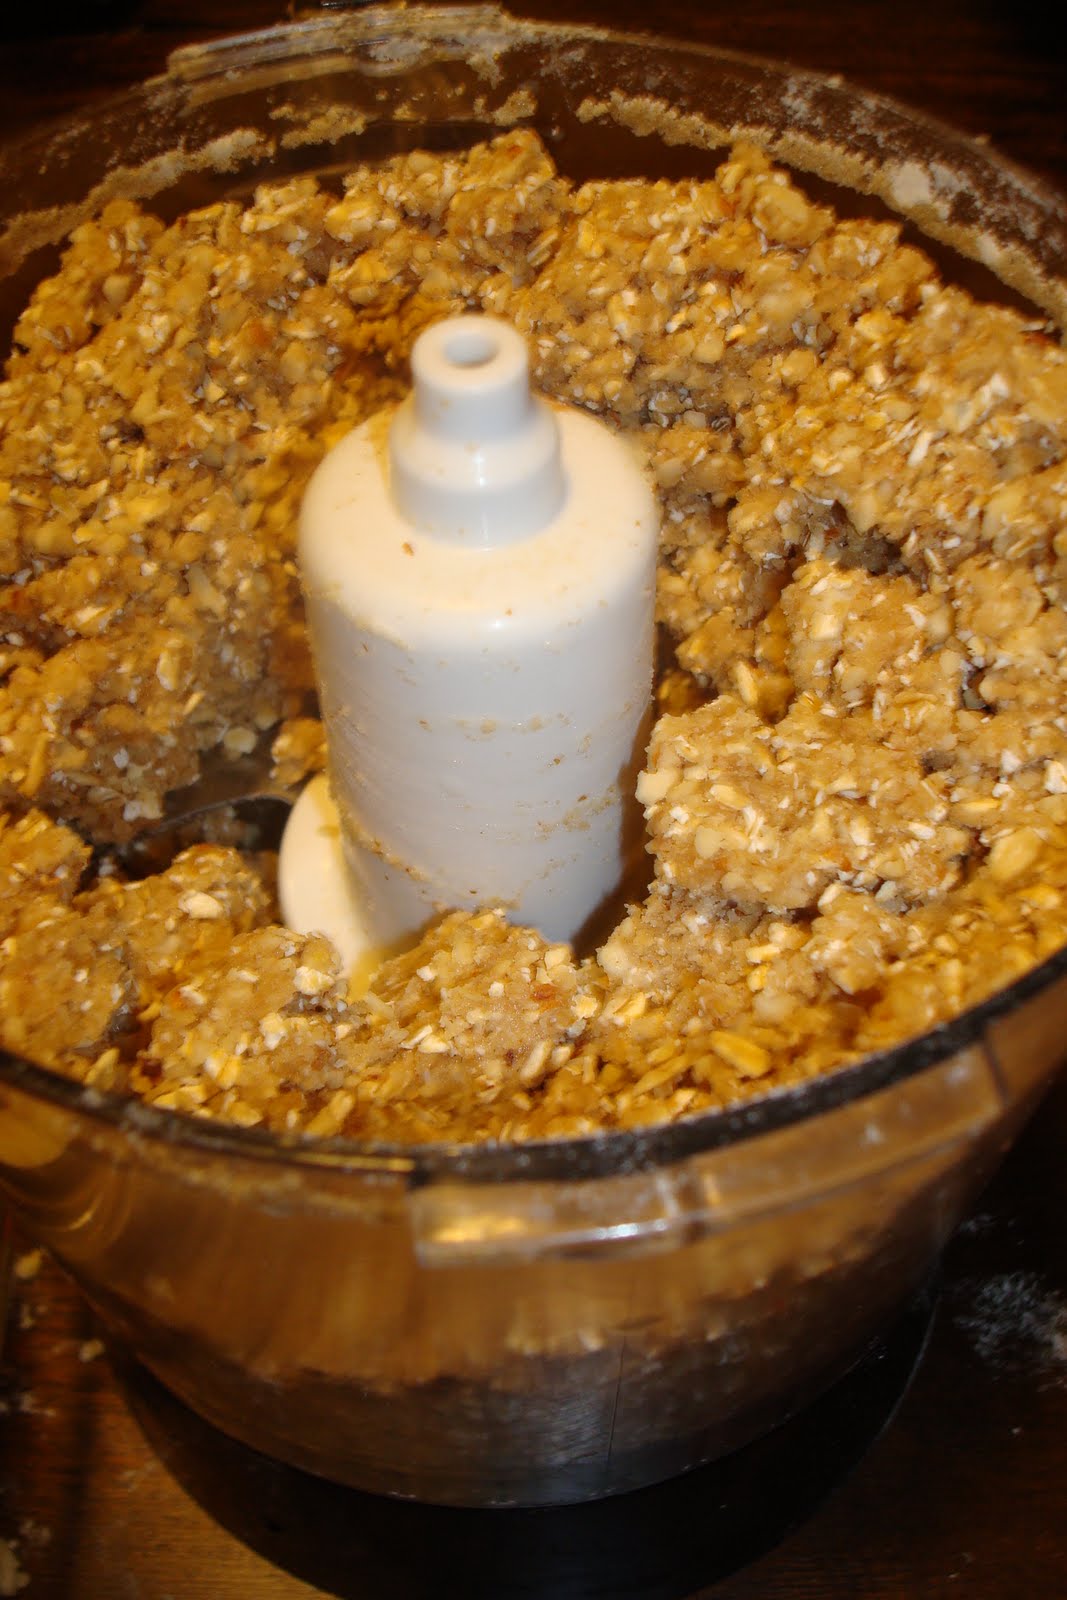
*You can make any berry puree. Just toss a handful of berries in your food processor and strain out the seeds.

Directions

Lightly oil or spray your pan and coat generously with powdered sugar.

Place the gelatin into the bowl of a stand mixer (with whisk attachment) along with 1/4 cup of water and the puree. For a super berry flavor, sub the 1/4 cup of ice water with puree (totalling 1/2 cup). I have used a hand mixer with no problems, other than total boredom from standing over a bowl for 10 minutes.

In a small saucepan combine the remaining 1/2 cup water, granulated sugar, corn syrup and salt. Place over medium high heat, cover and allow to cook for 3 to 4 minutes. Uncover, clip a candy thermometer onto the side of the pan and continue to cook until the mixture reaches 240 degrees F, approximately 7 to 8 minutes. Once the mixture reaches this temperature, immediately remove from the heat.

Turn the mixer on low speed and, while running, slowly pour the sugar syrup down the side of the bowl into the gelatin mixture. Once you have added all of the syrup, increase the speed to high. Continue to whip until the mixture becomes very thick and is lukewarm, approximately 12 to 15 minutes. Add the vanilla a food coloring during the last minute of whipping.

Take a spatula and dip it in oil (something neutral like safflower or canola) and scrape as much of the marshmallows out of the bowl and into your prepared pan. You may need to re-dip if it gets too sticky. Just fill a ramekin with oil and keep handy. Spread out the mixture as evenly as possible (again don't be afraid to oil the spatula) and cover. Marshmallows need to sit for a few hours or overnight.

Cutting:
I wanted to experiment with shapes this time, but the old fashioned square is just as good.

Cutting squares:
Dust a cutting board with powdered sugar and flip the marshmallows out of the pan. Keep enough sugar out to continue dusting when needed. Do I need to explain cutting cubes?

Cutting Shapes:
Unfortunately not all of my cutters worked (actually most of them). I was really hoping for a bunny or pig, but sometimes dreams just don't come true.

Par freeze the pan for about 30 minutes and transfer to cutting board dusted with powdered sugar. Dip your cookie cutter in sugar and go to town. The hearts came out very cute, but I wanted to post the failed pig too.


So after cutting I had a pretty big mess of scraps and didn't want to throw them out. I put my brain to work and thought "oh snip rice crispy treats!" Toss the scraps in a pan over medium heat and add about a tablespoon of butter. Add a couple of cups of rice crispies ( or enough to get a good consistancy)and you have just made two magical treats!


Thursday, May 26, 2011

Blueberry Buttermilk Bundt Cake...LIKE WOAH!

As most of you know... I am not the one that bakes, cooks, or even grocery shops...I leave that to Gigi, and my Lady Husband. But I decided to act like a lady and bake a bundt cake. and BOY OH BOY.. this is easy..and didn't taste so bad either!

Ingredients

3Cups of All Purpose Flour
1 Tablespoon Baking Powder
1 Teaspoon Salt
1 2/3 Cups Sugar
3/4 cup of Unsalted Butter at Room Temp.
3 Large Eggs
1 Tablespoon of Grated Orange Peel
2 Teaspoons Vanilla Extract
3/4 Cup of Buttermilk
2 Cups of Frozen Blue Berries.


Preheat oven to 350F. Butter and flour a 10 inch diameter Bundt pan. Whisk flour, baking powder, and salt in a medium bowl. Using an electric mixer, beat sugar, and butter in a large bowl until light and fluffy. Beat in eggs, 1 at a time. Beat in the orange peel and vanilla. Beat in dry ingredients in 3 additions alternating with the buttermilk in 2 additions. Fold in blueberries and pour the batter into the pan. Bake for about an hour or until the tester inserted near the center of the cake comes out clean.

Cool cake in pan for 10 minutes, and the Turn the cake out on to a rack to cool completely.

**Frozen blueberries will not sink to the bottom of the cake pan**
**The batter came out REALLY thick and didn't quite pour into the pan as much as me having to scoop it out of the bowl and schlep it into the pan.**

Don't be scared...it will all be okay.

Tuesday, May 24, 2011

The Amazing Benefits of Apple Cider Vinegar


If you know me, even just a little bit, you have probably heard me ranting on about the glory of apple cider vinegar. It's medicinal properties are endless, and I am officially a daily drinker of this miracle juice.

For the past few years I have had a strange growth appear on my chin. It hangs out festering and being nasty for about 3-4 weeks every 6 months or so. I have been to 2 doctors about it, with no explanation other than offering me a prescription for antibiotics (no thank you). Since taking ACV I have seen nothing but a glorious happy chin (it's been over a year). At our last meeting one of our members told me that it has really helped with her allergies, and I have noticed being exceptionally regular since my daily use. Sorry girls, I know real ladies don't talk about "their business," but when it's healthy and on time every day, that's something to brag about.

Health benefits of ACV:

Arthritis Relief
Diabetes Control
Metabolism Booster
Lowing Cholesterol
Weight Loss
Detox/Immune System Boost
Diarrhea/Food Poisoning/General Stomach Issues
Asthma Control
Allergies
Fighting Cancerous Growth
Skin Care
Urinary Tract Infections
Cronic heartburn relief (I can personally attest to this)

Pregnant? ACV can help reduce acid reflux, morning sickness and leg cramps

Other benefits:
Antibacterial and anti-fungal
Remineralizes the body
Helps normalize the blood’s alkaline acid balance
Packed with 30 vitamins, pectin, beta-carotene and minerals


Shop smart and spend the extra $2. There is a very distinct difference between regular apple cider vinegar and raw, unfiltered and un-distilled apple cider vinegar. The vinegar you buy in a grocery store has been processed and pasteurized and has lost the magical enzymes and nutrients. Even the organic Whole Foods brand has been pasteurized. Braggs is the way to go.

I drink about 2TBS of ACV a day. It is an acquired taste, so here are some tasty recipes to get you in the "mood."

"Warm Tea"
1 TBS ACV
6-8oz hot water
1 TBS Honey or Agave Nectar

Apple/Citrus Treat
1 TBS ACV
6-8oz filtered water
1/2 lemon or lime

Spiked Iced Tea
1 TBS ACV
6-8oz iced tea
Squeeze of Lemon (optional)


You know what else is awesome about ACV??

This:


We recently had a massive gnat infestation in our kitchen and normally I would just pour some bleach down the drain and call it a day. BUT I have thrown out all of the chemicals in my house and have turned to the all-mighty vinegar. Pour about an inch into a glass and cover with plastic wrap. Poke about 3-4 holes in the plastic and watch the bastards die.

Thursday, May 19, 2011

Composting for the not so scientific minded/wanna be hardcore gardeners


OK. Composting to me is quite simple. Have a good mix of carbon rich nutrients from browns (dead leaves) and nitrogen rich nutrients from greens (kitchen scraps). I know there is a hardcore science behind it all, but ladies, who has time for all of that?? So I am going to provide the most simple guide to getting a healthy compost going.

First, pick your location or container. I live in a condo, which means that I am not only limited on space for a full grown compost pile, I also have to load up my recyclables and take them to the local recycling center myself. Gold medal anyone? If you have a yard, you should be good to go with an outdoor pile. If you are living in close quarters like myself, container composting is the way to go. Setting up outdoors is easy, just pick a spot in your yard. You can contain it with chicken wire, 2/4s, or concrete blocks, but none of that is really necessary. For container composting you can use any "bin" available, but you need to make a small adjustment. Take your sweet drill (I'm sorry if you are a member of the adventure club and don't have a drill, we need to talk) and cut several holes on the bottom and top of your container. I would say anywhere from 10-15 small holes on each side, depending on the size. I use a metal trash can from IKEA (b/c it's cute) but you can use any plastic bin or can as long as it has a lid.


So let's keep it simple. Once you have set up your bin, there are three things your compost MUST have. Water, sun, and air...just like a plant. How cute!

Here are some things you can compost:

Kitchen scraps (duh!)
Lint from your dryer
Vacuum contents
Tea bags/coffee filters
Shredded newspaper
Paper napkins, towels, and bags
Dog and cat hair (there's plenty of that going around in my house)
Any old junk from the pantry (stale cereal, chips, crackers). If it's flour based, you're good. This includes old moldy bread and pasta.

Here are some things you CAN NOT compost:

Dog and cat poop (unless your animals are vegetarian)
Meat/dairy products

Why can't I compost poop??

In a nutshell (b/c serious gardeners will tell you there is a scientific formula for composting these things) salmonella and maggots DO exist.. did you hear that? Yeah, so just don't do it. OK?

Here we go. Throw your approved composting materials in the pile/bin, cover with dead leaves, and continue the process. Keep your pile aerated by mixing it up as much as possible. It's good to keep an extra bin for dead leaves to cover your scraps every time you toss. Make sure your compost has the three main ingredients: air, sun, and water. Use common sense. If the compost is too wet and full of too much decomposed matter, (and gnats are taking over your lungs every time you open to aerate) add brown. If it's too full of browns and isn't doing much, you need more greens.

Simple enough??? Ghetto composting has worked for me, and you can always get more educated about it, but seriously I composted this in 3 months. It's not that complicated.